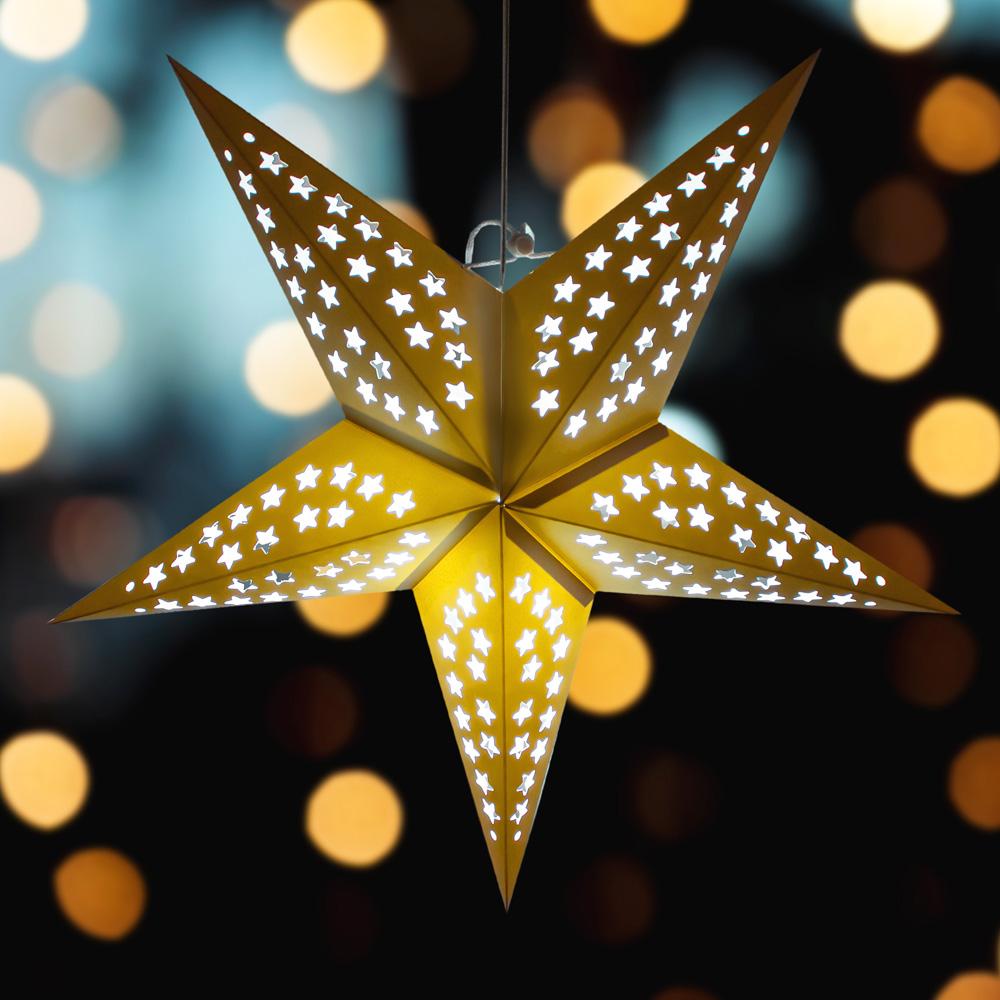
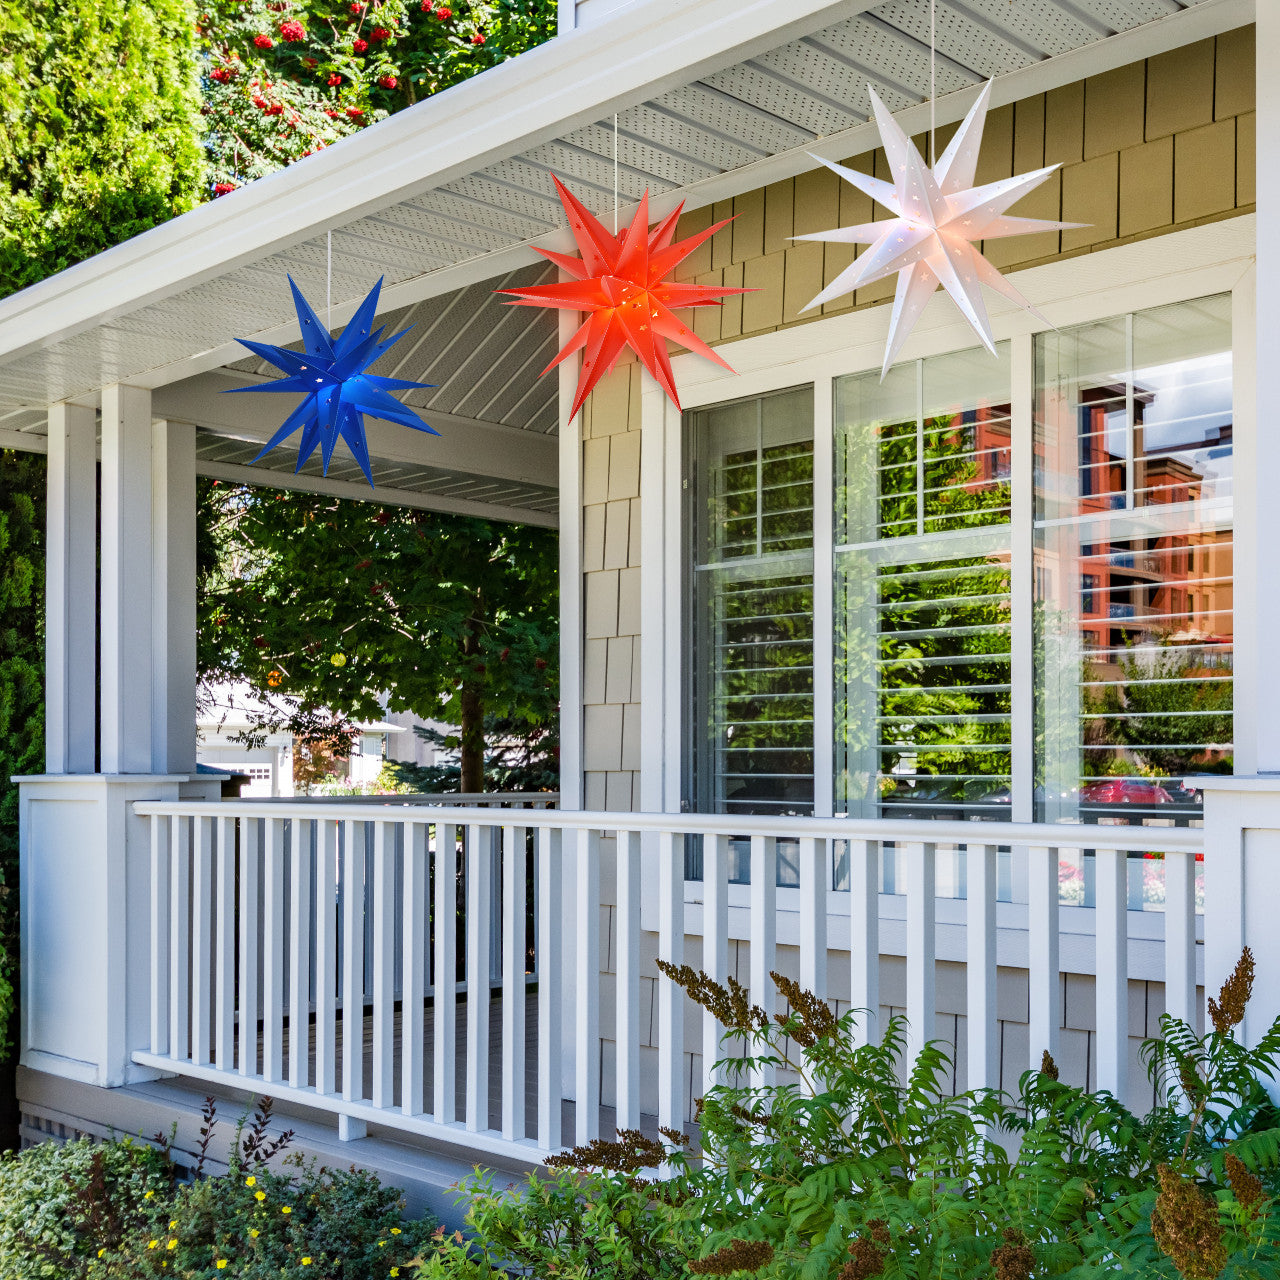
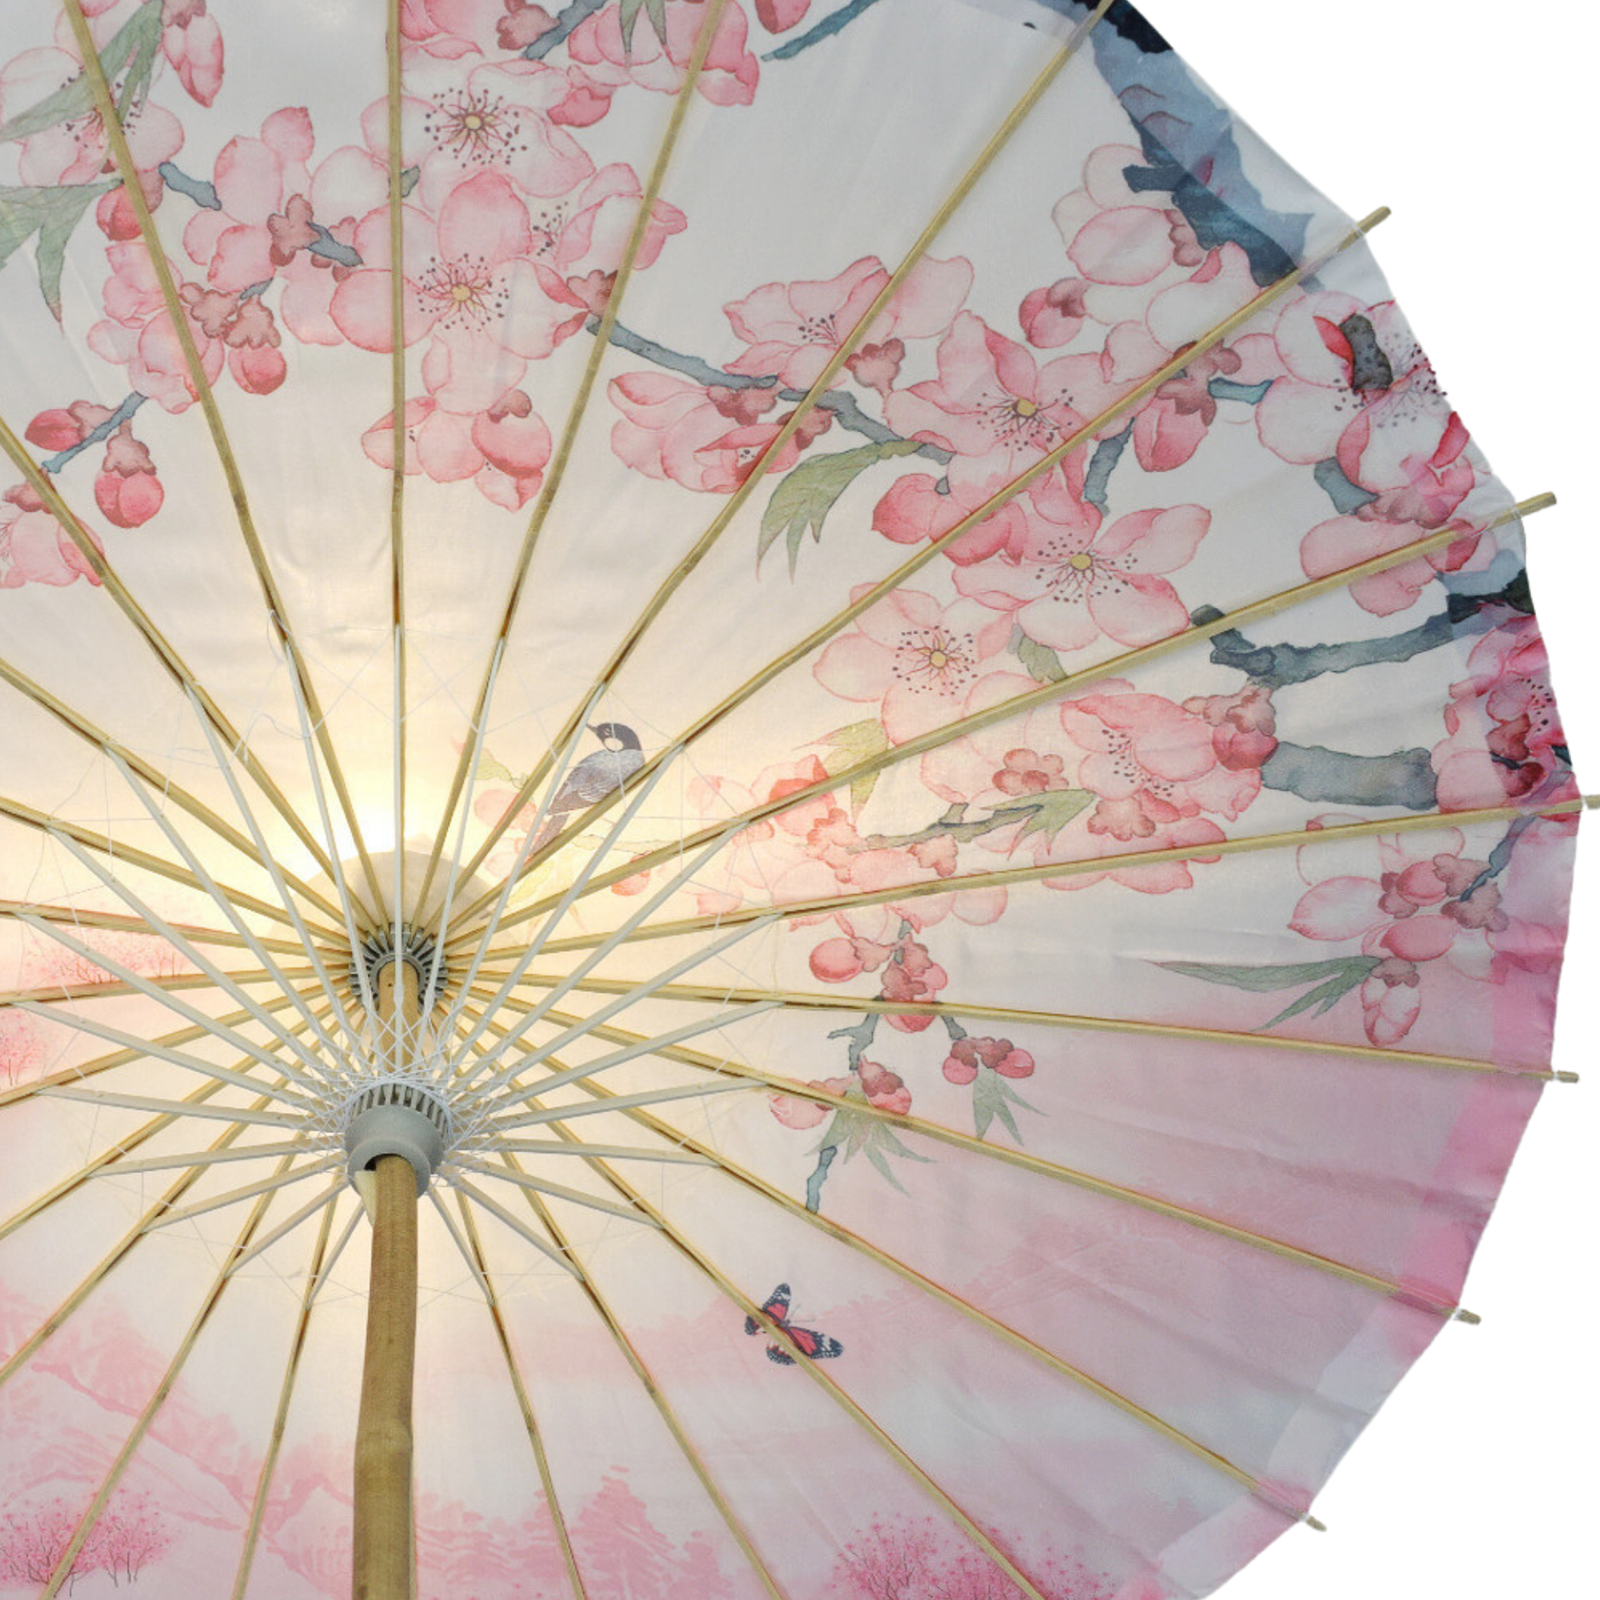
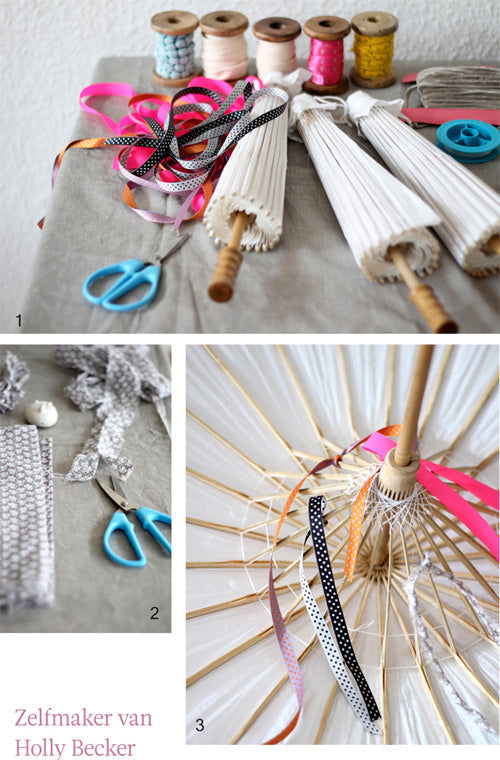
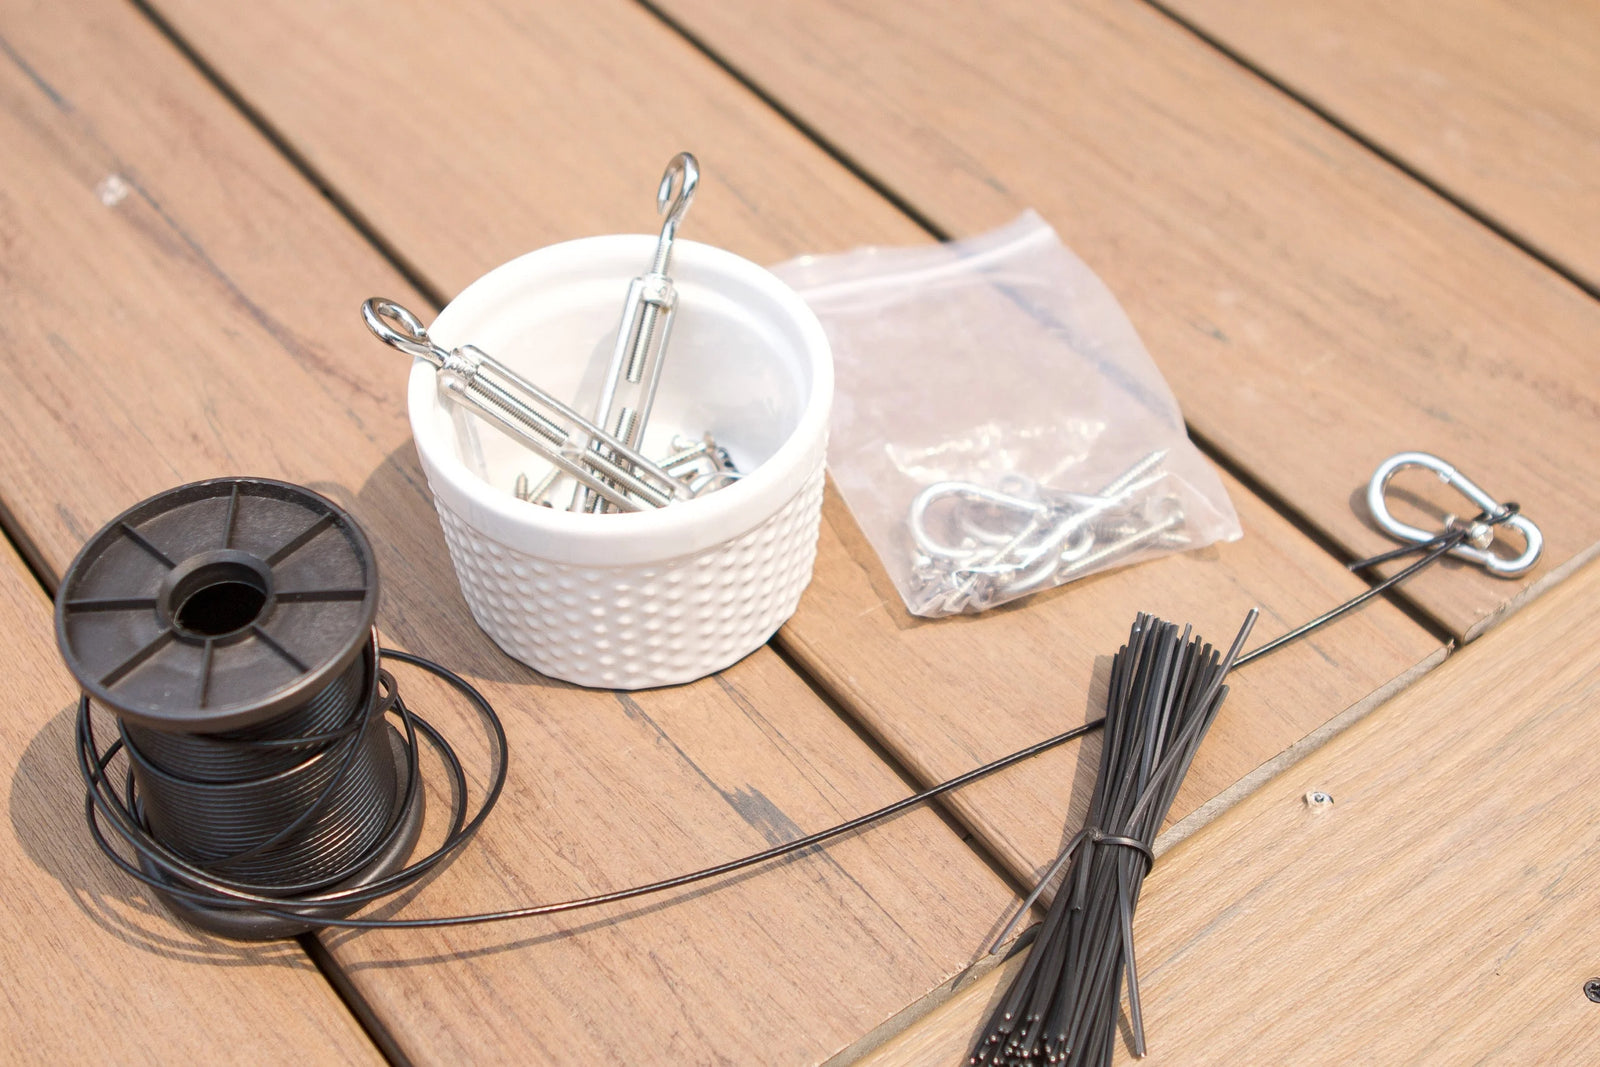
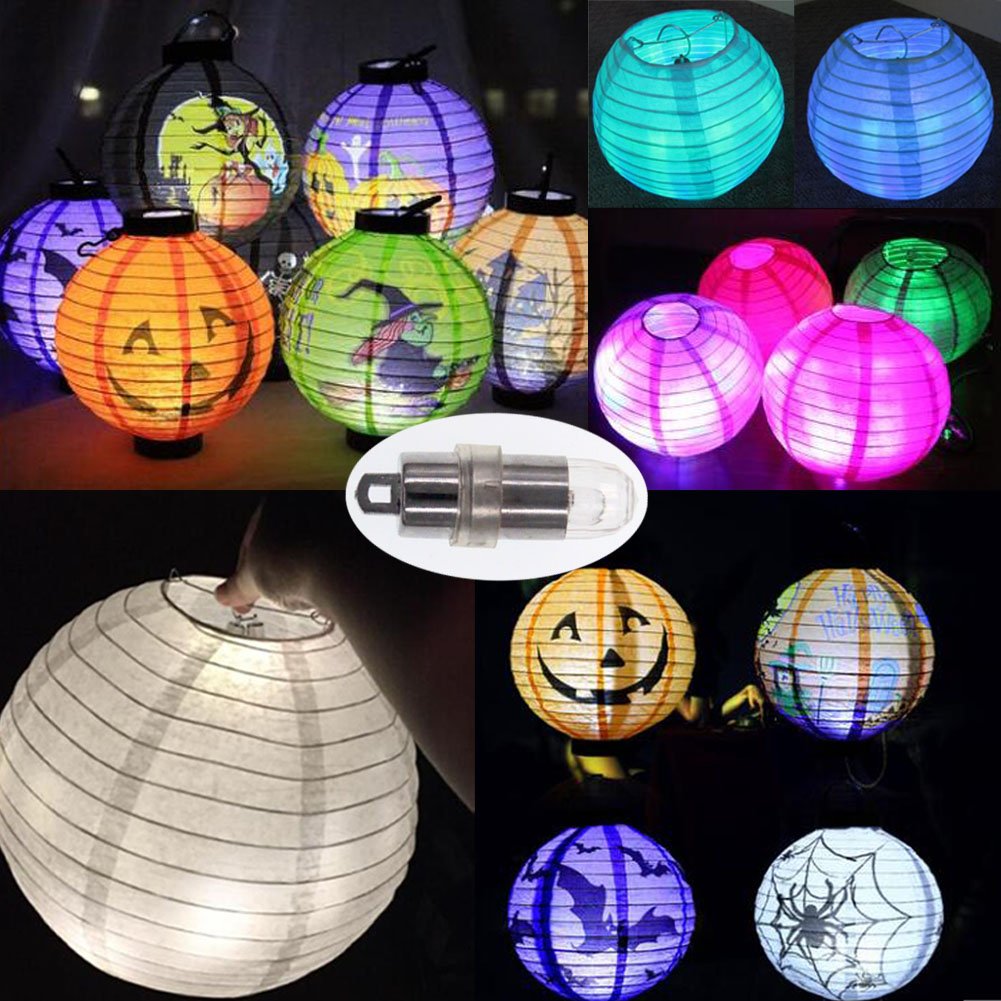
Hosting a party is always a fun way to bring friends and family together, but finding the right decorations to set the mood can sometimes be a challenge. If you're looking for a unique and budget-friendly centerpiece idea, paper lanterns might just be the answer! With a little creativity and some simple supplies, you can create a stunning paper lantern centerpiece that will be the talk of your next gathering.
In this DIY tutorial, we'll show you how to create a beautiful paper lantern centerpiece that will elevate any party decor. Here's what you'll need:
Materials:
- Paper lanterns (in a variety of sizes and colors)
- String lights
- Floral wire
- Artificial flowers and greenery
- Scissors
- Hot glue gun
Instructions:
-
Gather your materials: Start by gathering all of your materials. Choose a variety of paper lanterns in different sizes and colors. We suggest using a mix of solid-colored lanterns and patterned ones for a more interesting look.
-
Assemble the lanterns: Assemble the paper lanterns according to the instructions that came with them. Make sure they are securely fastened and can safely hold the fairy string lights and floral accents.
-
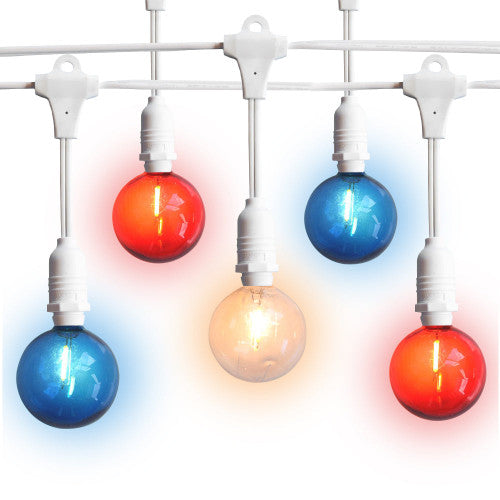
Add string lights: Once the lanterns are assembled, add the string lights. We suggest using battery-operated lights so you can place them anywhere without having to worry about finding a power source.
-
Create a floral arrangement: Using floral wire, create a floral arrangement using artificial flowers and greenery. Make sure to choose elements that complement the colors of your paper lanterns.
-
Attach the floral arrangement to the lanterns: Using hot glue, attach the floral arrangement to the lanterns. We suggest starting with the largest lanterns first and then filling in with smaller ones.
-
Hang the lanterns: Once all of the lanterns have been decorated, it's time to hang them. You can either hang them from the ceiling or place them on the table as a centerpiece. Make sure they are evenly spaced and secure.
And that's it! With these simple steps, you'll have a beautiful paper lantern centerpiece that will be the perfect addition to your next party. Not only is this DIY project budget-friendly, but it's also a great way to add a personal touch to your event. The best part is, you can easily customize it to match your party's theme and colors. So why not give it a try?

Summary: In this DIY tutorial, we showed you how to create a stunning paper lantern centerpiece for your next party. With a few simple supplies, you can elevate your event's decor and add a personal touch. Choose a variety of paper lanterns, string lights, and artificial flowers to create a unique and budget-friendly centerpiece that will be the talk of the party!


