


By someone who's made plenty of backyard glow-ups (and a few extra trips to the hardware store)
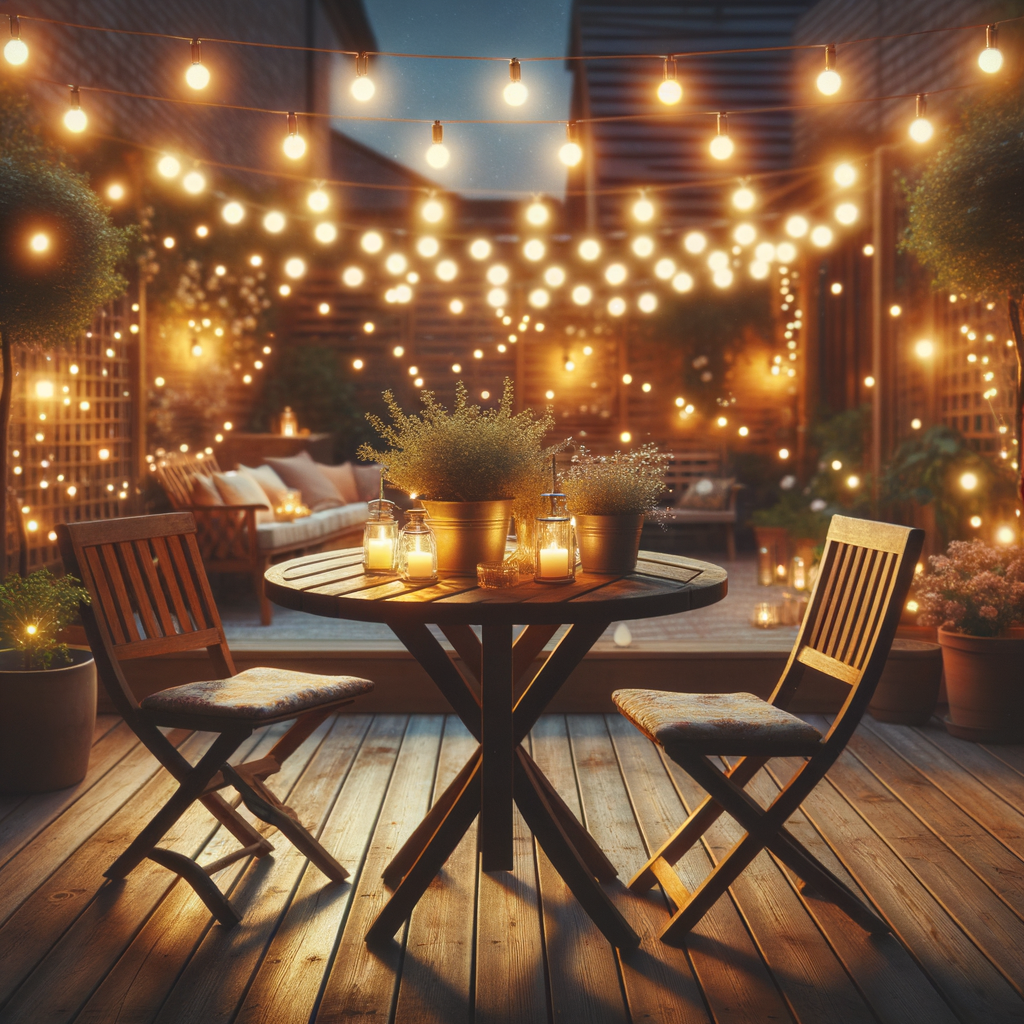
There’s just something magical about turning your backyard into a bistro-style escape or an evening party oasis with nothing but a few strands of string lights. Whether it’s for a wedding, garden party, or just creating your own slice of paradise, DIY backyard string lights can add that perfect glow to transform your space.
But let’s be honest – grabbing a bunch of lights and randomly stringing them up almost never looks like those dreamy Pinterest images. That’s where a little planning (and this guide) comes in! Today I’ll take you step-by-step through the best way to hang string lights, covering everything from securing anchors to managing tension, so you can create your very own starlit haven with complete confidence.
Ready to light things up? Let’s get started!
1. Start With a Plan – Sketch & Measure
Before climbing any ladders, take a few moments to plan out your DIY outdoor string light setup:
- Sketch a rough layout of your backyard or patio.
- Mark anchor points (like trees, walls, fences, poles or pergolas).
- Measure the distances between these points carefully – account for gentle sag in the line.
- Decide on the pattern: zigzag, parallel, fan-out, or perimeter lights.
This simple step ensures you purchase the right amount of lights and materials. Trust me – it’ll save you a headache later on!
2. Choose the Best Anchoring Method
One of the most important parts of this whole string light installation guide is how you anchor the lights. Improper support is the #1 reason string lights sag, fall, or get damaged over time.
- Metal Anchor Hooks – Ideal for mounting into wood, patios, and decks.
- Stainless Steel Screw Eyes – Great for attaching to exterior walls or beams.
- Expansion Hooks – Perfect for masonry or brick surfaces.
- Wooden or Metal Posts – Install firmly in the ground using concrete or heavy-duty planters as needed.
Confession: My first install attempt involved rope and duct tape. Learn from my mistakes—invest in real hardware!
3. Run a Support Cable if You Need It
If you're stringing lights across wide-open spaces, such as the middle of a yard or between trees, use a steel support guide wire cable. This holds your lights taut, no matter how windy the night gets.
- Use a turnbuckle screw to tighten the cable. This keeps sag controlled while maintaining a slight dip for charm.
- Attach your lights using zip ties or carabiner clips every few feet.
- Make sure the support wire is rated to hold the weight of the string lights plus any light shades you’ll be adding.

4. Attach the Lights Safely and Securely
If you're wondering how to hang string lights without them becoming a tangled mess, here’s the method I swear by:
- Start at the plug end near your power source (preferably a GFCI outlet).
- Lay out the entire string before attaching anything.
- Attach one support point at a time using zip ties or hooks.
- Allow a small amount of sag between attachment points for that signature “cafe” look.
- Check as you go – are the lights leveling properly? Is there too much tension in any direction?
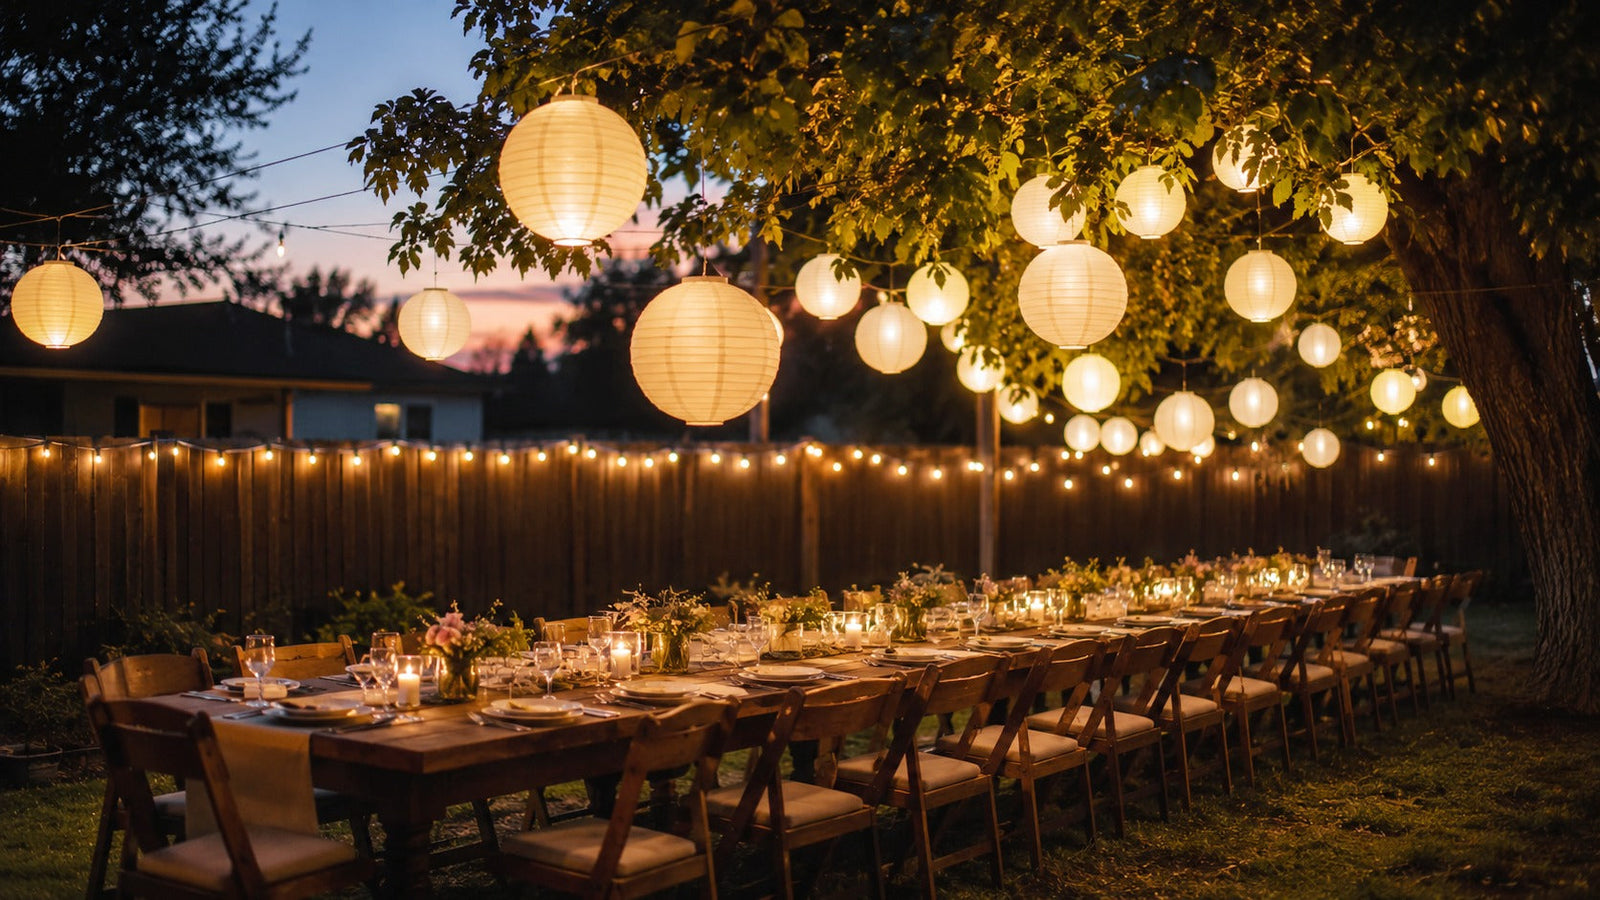
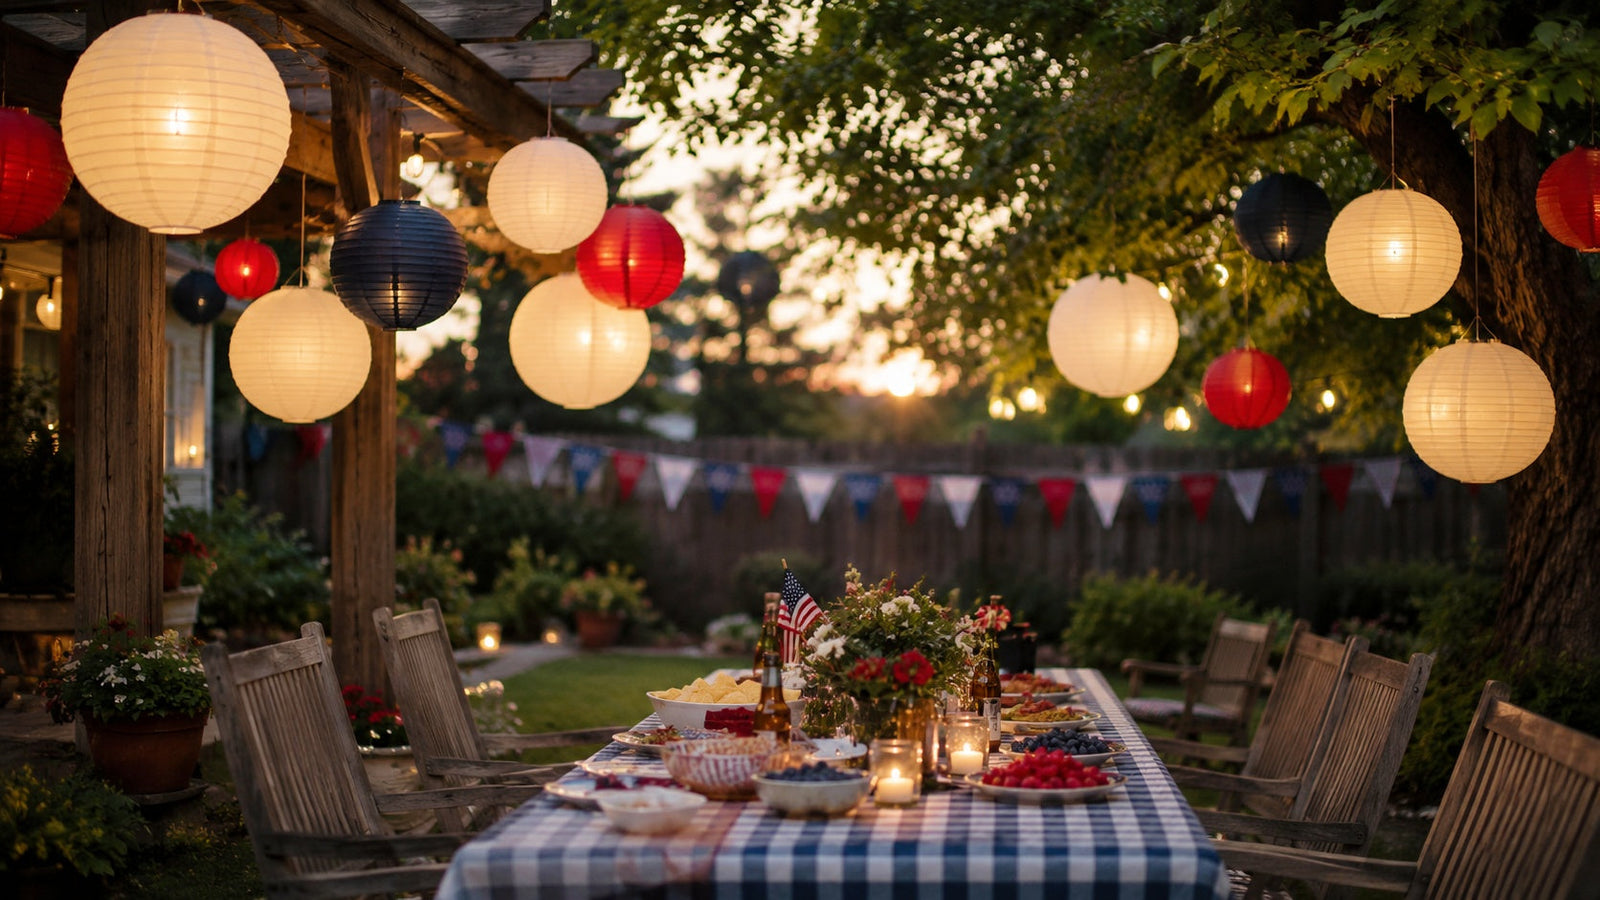
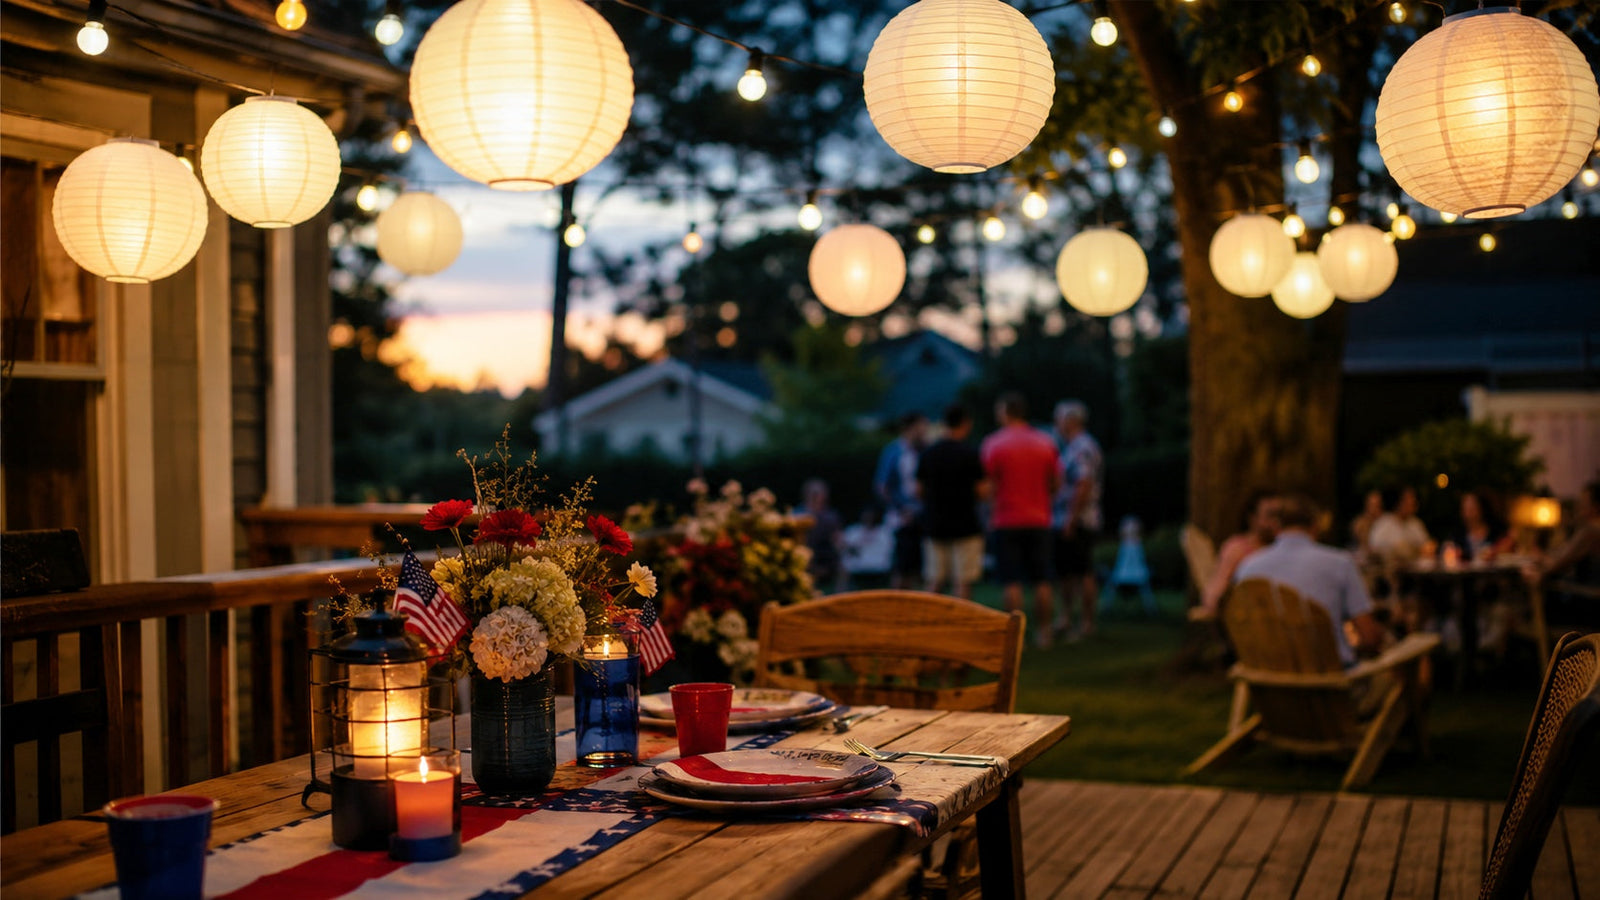
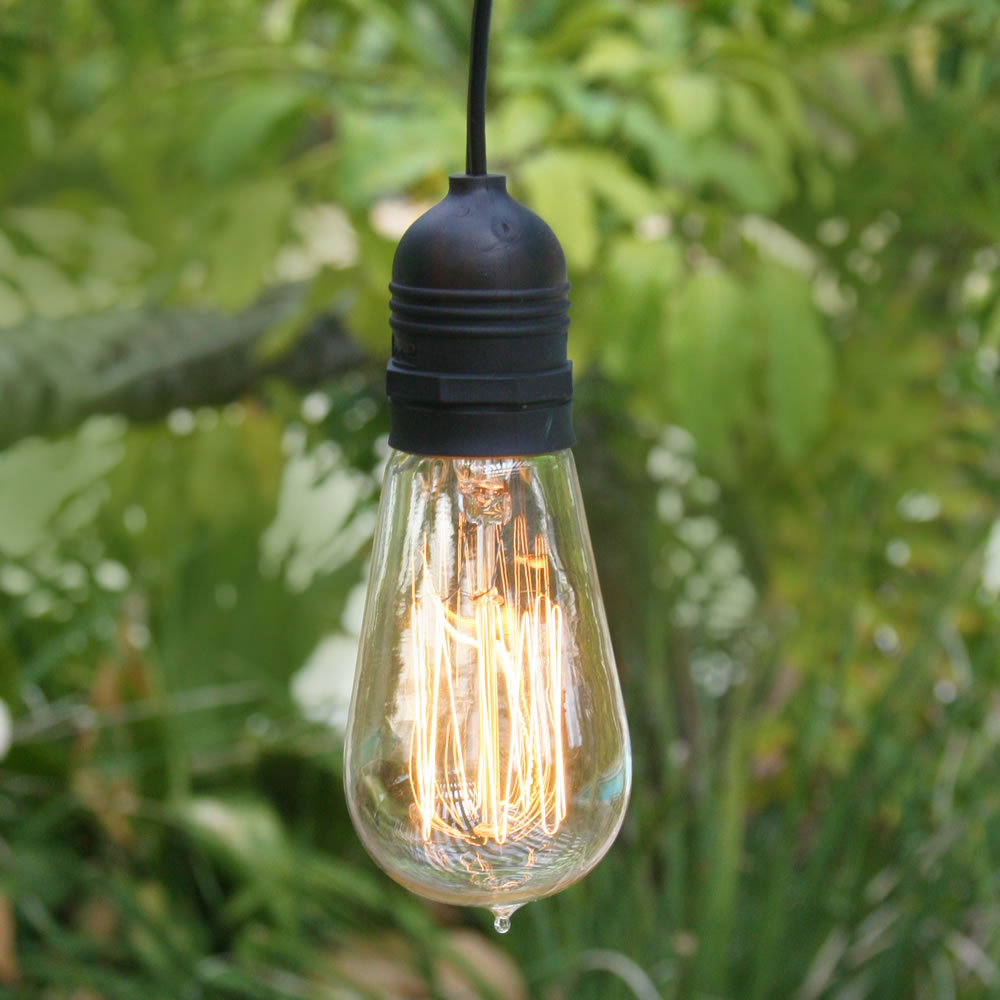
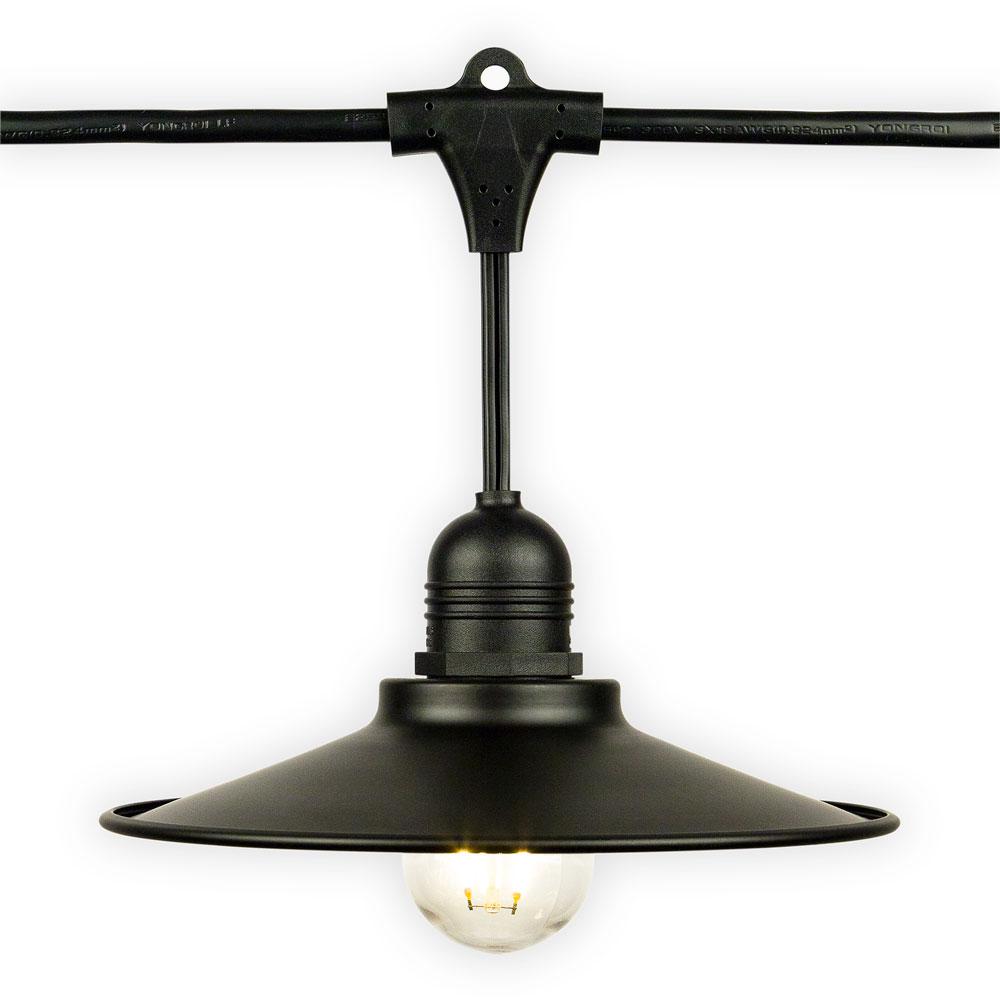
Want to style them up even more? Add light shades from PaperLanternStore for a classic Parisian bistro vibe and to reduce unnecessary light pollution.

5. Prioritize Safety First
When it comes to backyard lighting installation, you want everything to look beautiful—but more importantly, safe! Here are essential tips:
- Use Outdoor-Rated Lights & Extension Cords – Look for waterproof and weather-resistant labels.
- Avoid Standing Water – Keep connectors away from puddles or sprinkle zones.
- Do Not Overload Circuits – Check the manufacturer’s maximum wattage recommendations.
- Secure Loose Cords – Use ground staples or clips to avoid trip hazards.
- Whenever possible, plug into a GFCI outlet to prevent shocks.
Trust me, nothing ruins the vibe of glowing lights like a blown fuse.
6. Finishing Touches & Decorating Tips
Now for the fun part—making your space shine. Mix and match some of these backyard lighting ideas:
- Choose warm white bulbs for a soft, romantic feel.
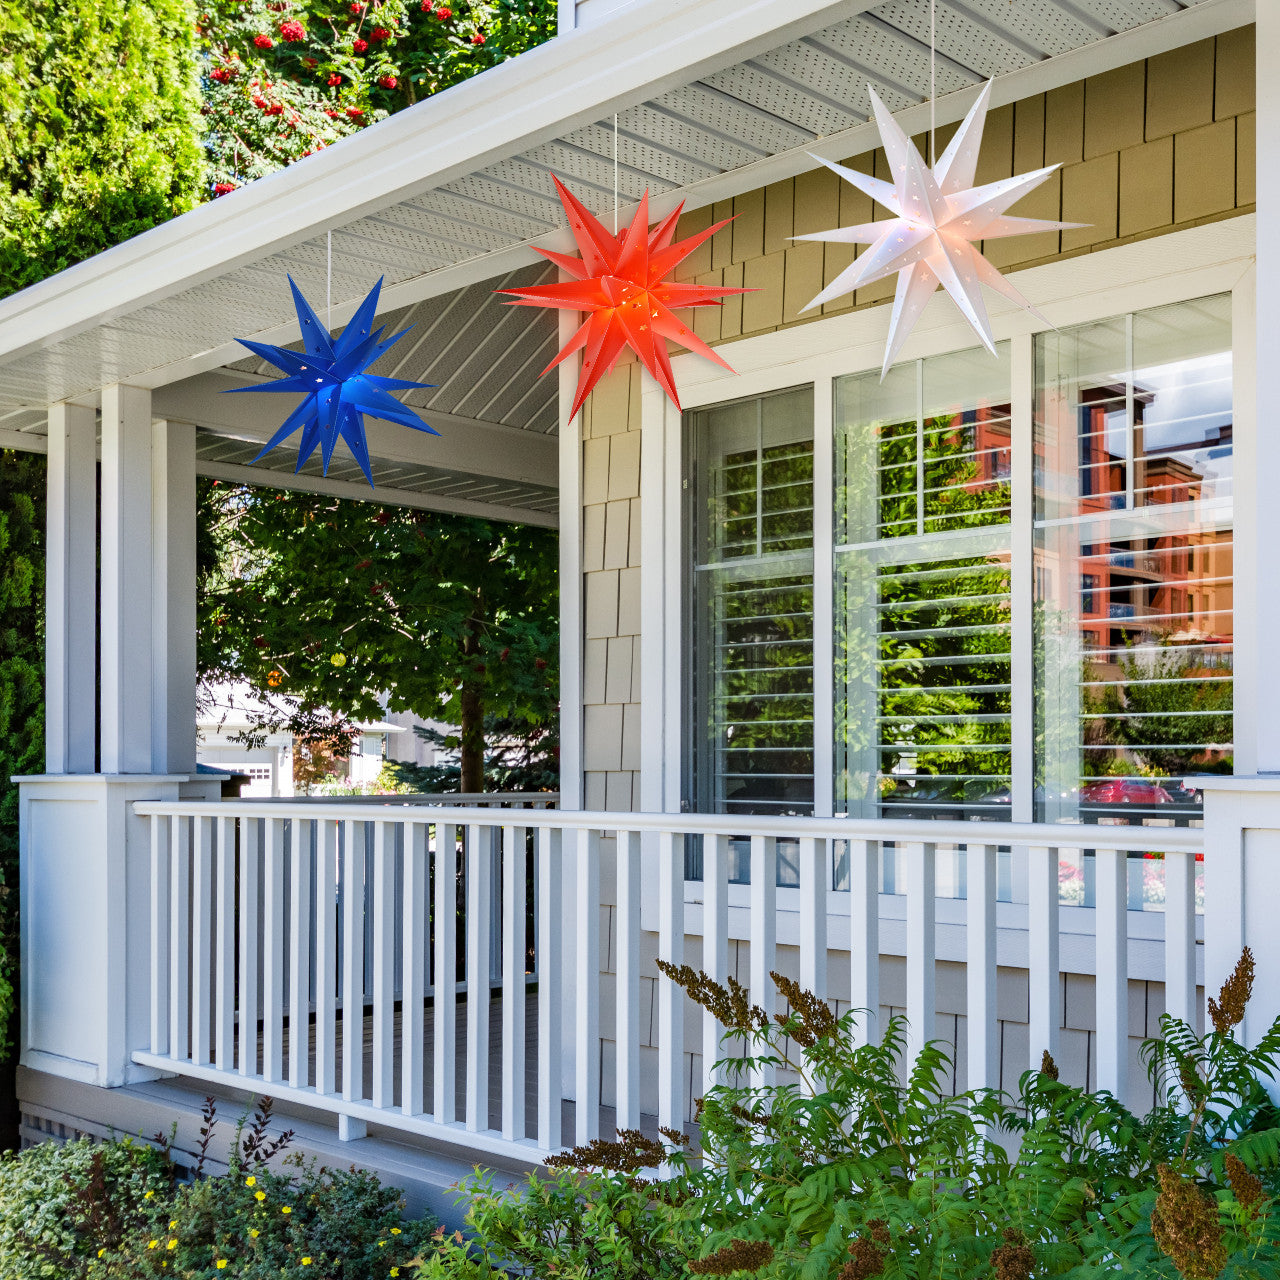
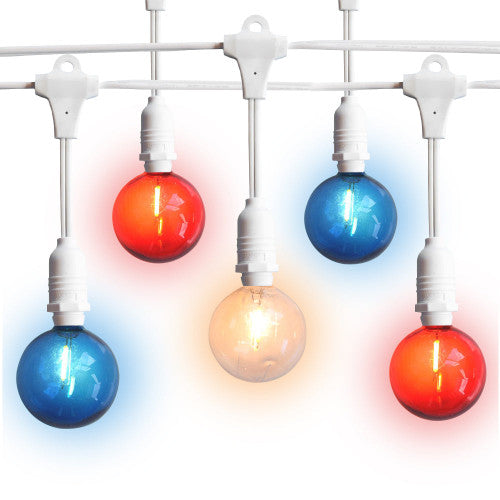
- Use paper lantern light covers to add color and theme.
- Wrap string lights around tree trunks or pergola beams for extra dimension.
- Add dimmable smart plugs or smart bulbs for full control via your phone.
- Group multiple sets for parties or weddings—with layered lighting you can adjust as needed.
Conclusion: Set the Mood with DIY Patio String Lights
Transforming your outdoor space with hanging outdoor lights doesn’t have to be stressful. With this DIY backyard string light installation guide, you’ve got everything you need to plan, hang, and style your lights like a pro. From securely anchoring each line, mastering tension, to adding that warm ambient charm—with the right tools and a little creativity, your garden is about to become the go-to spot for sunset hangouts and unforgettable evenings.
Ready to string up some magic? Browse the best outdoor lights and shades to bring your vision to light. ✨