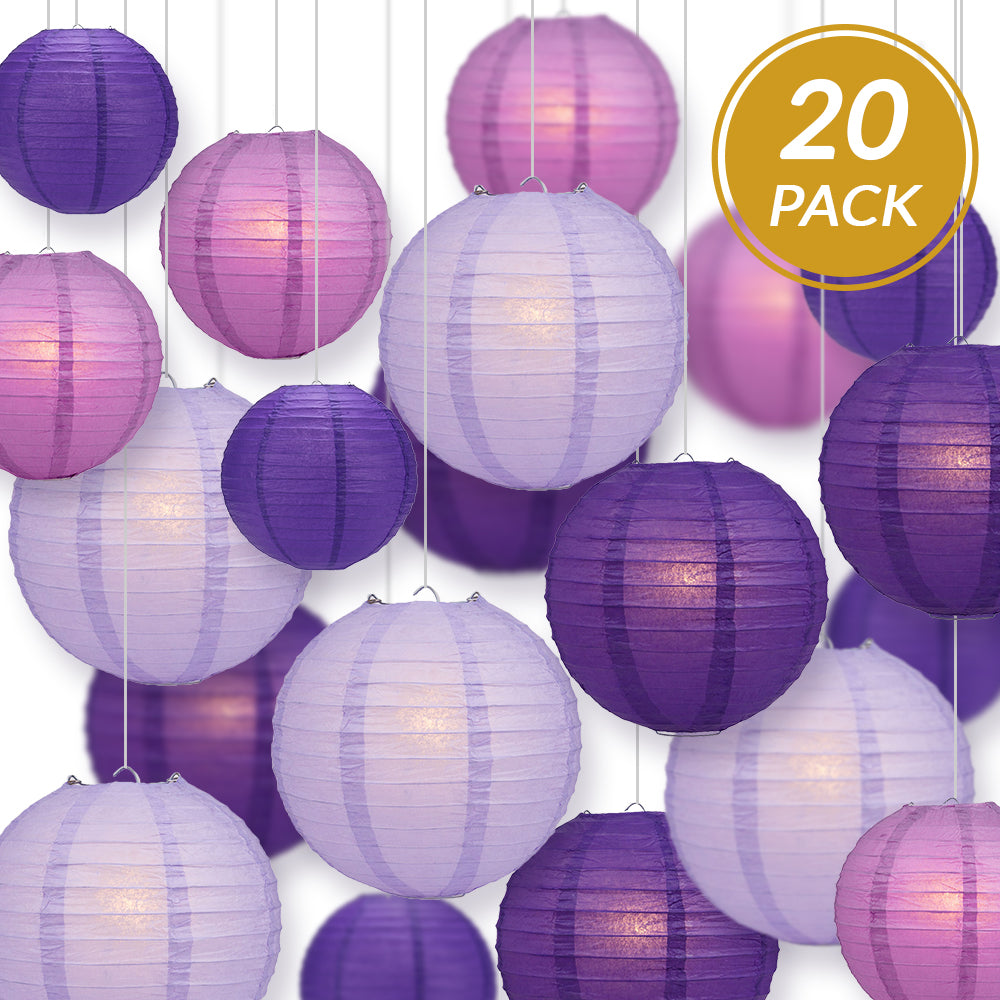

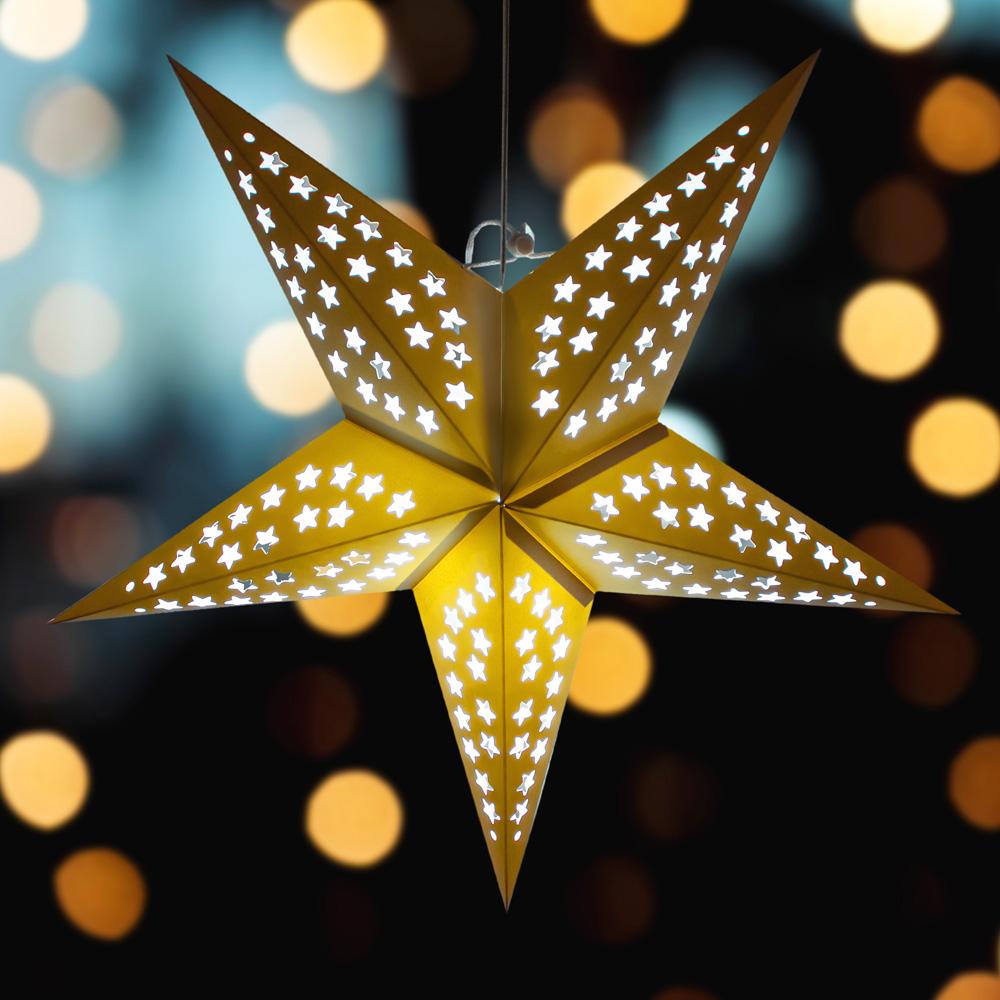
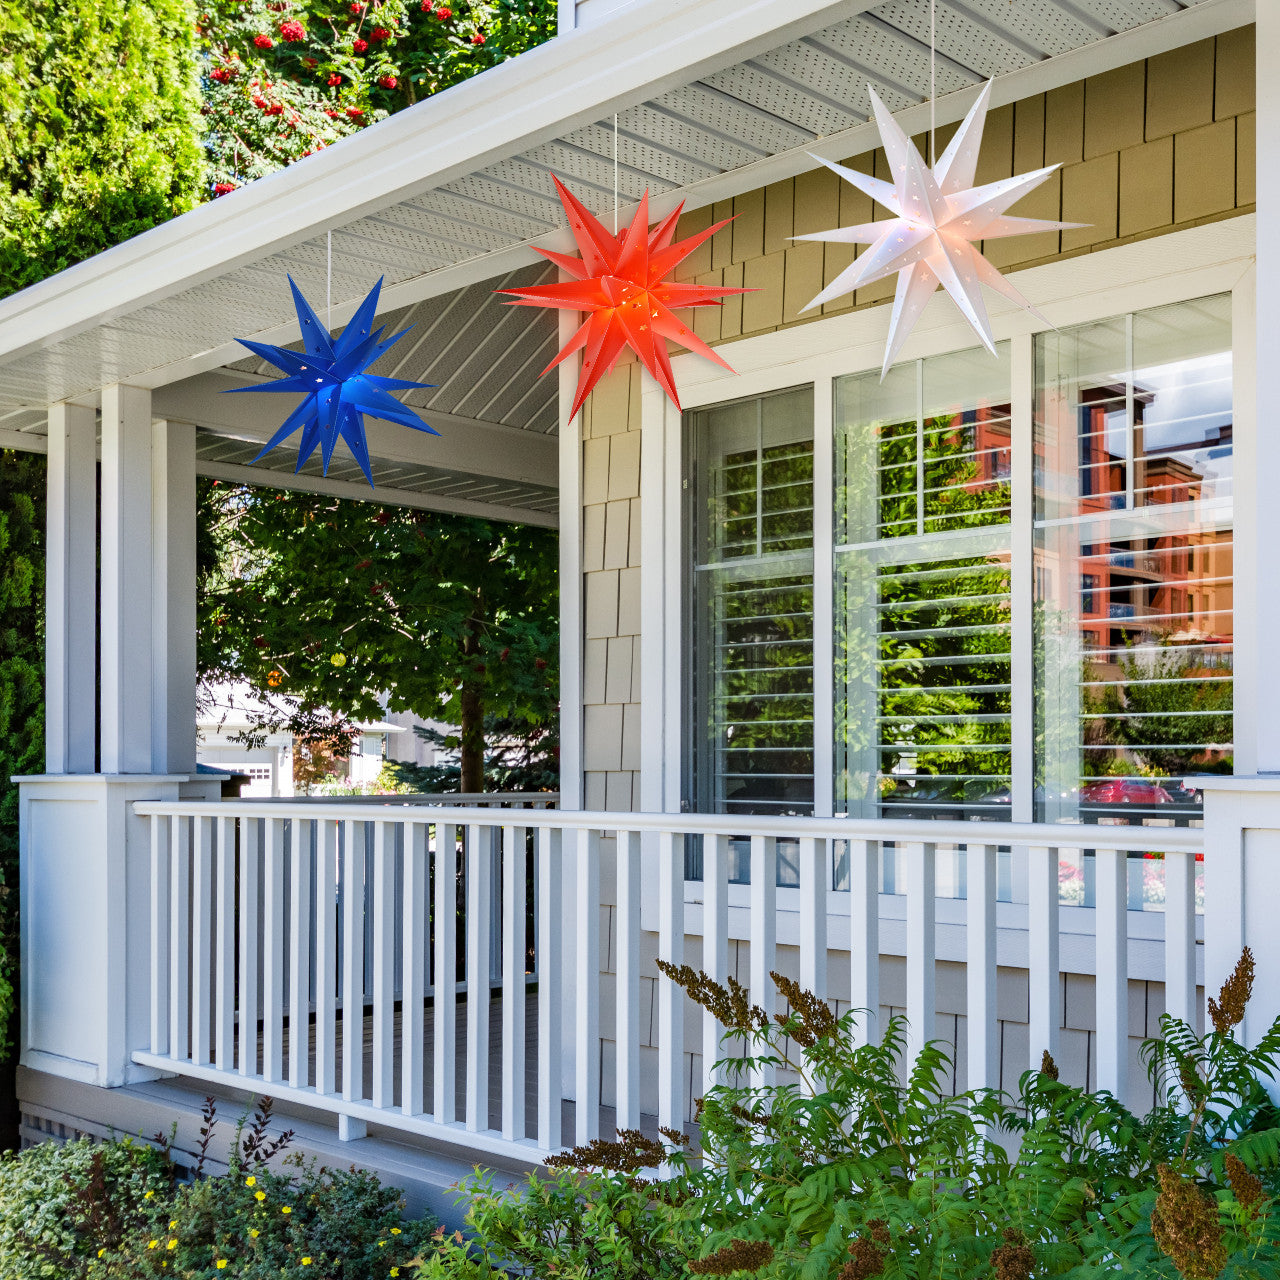


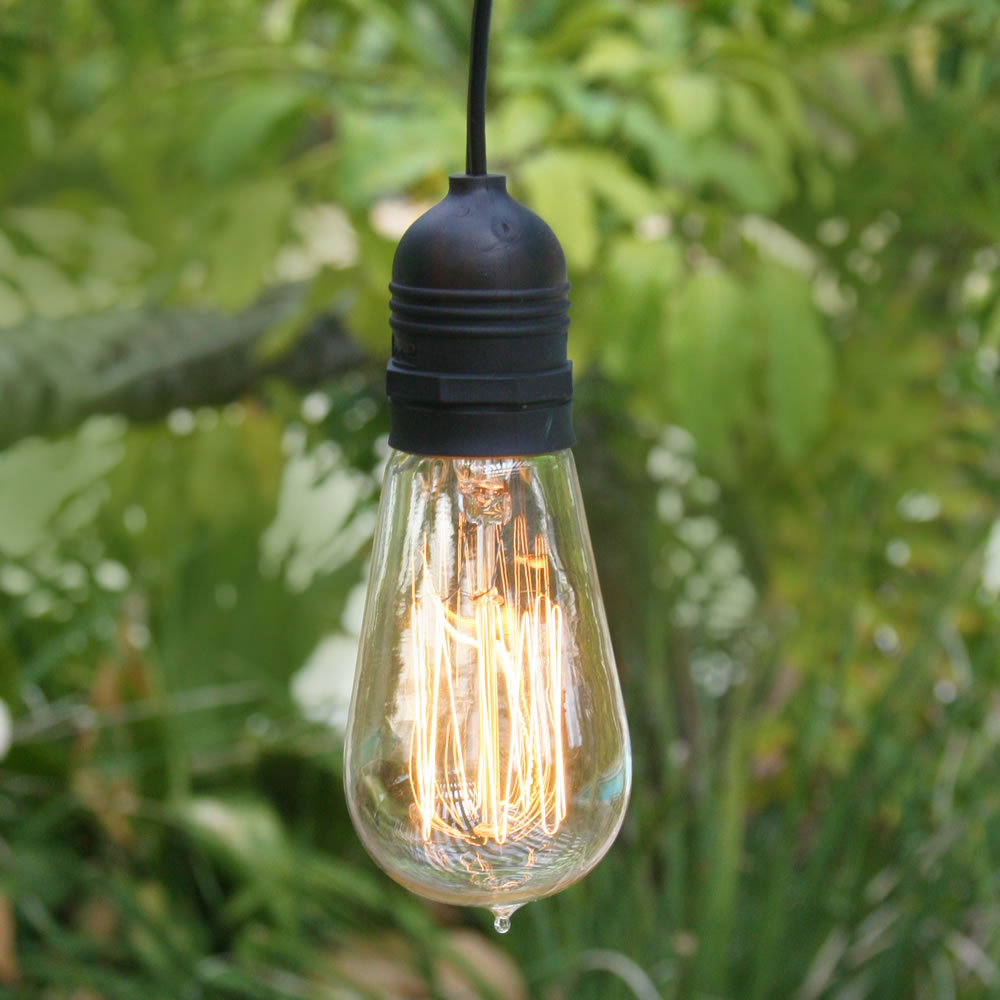


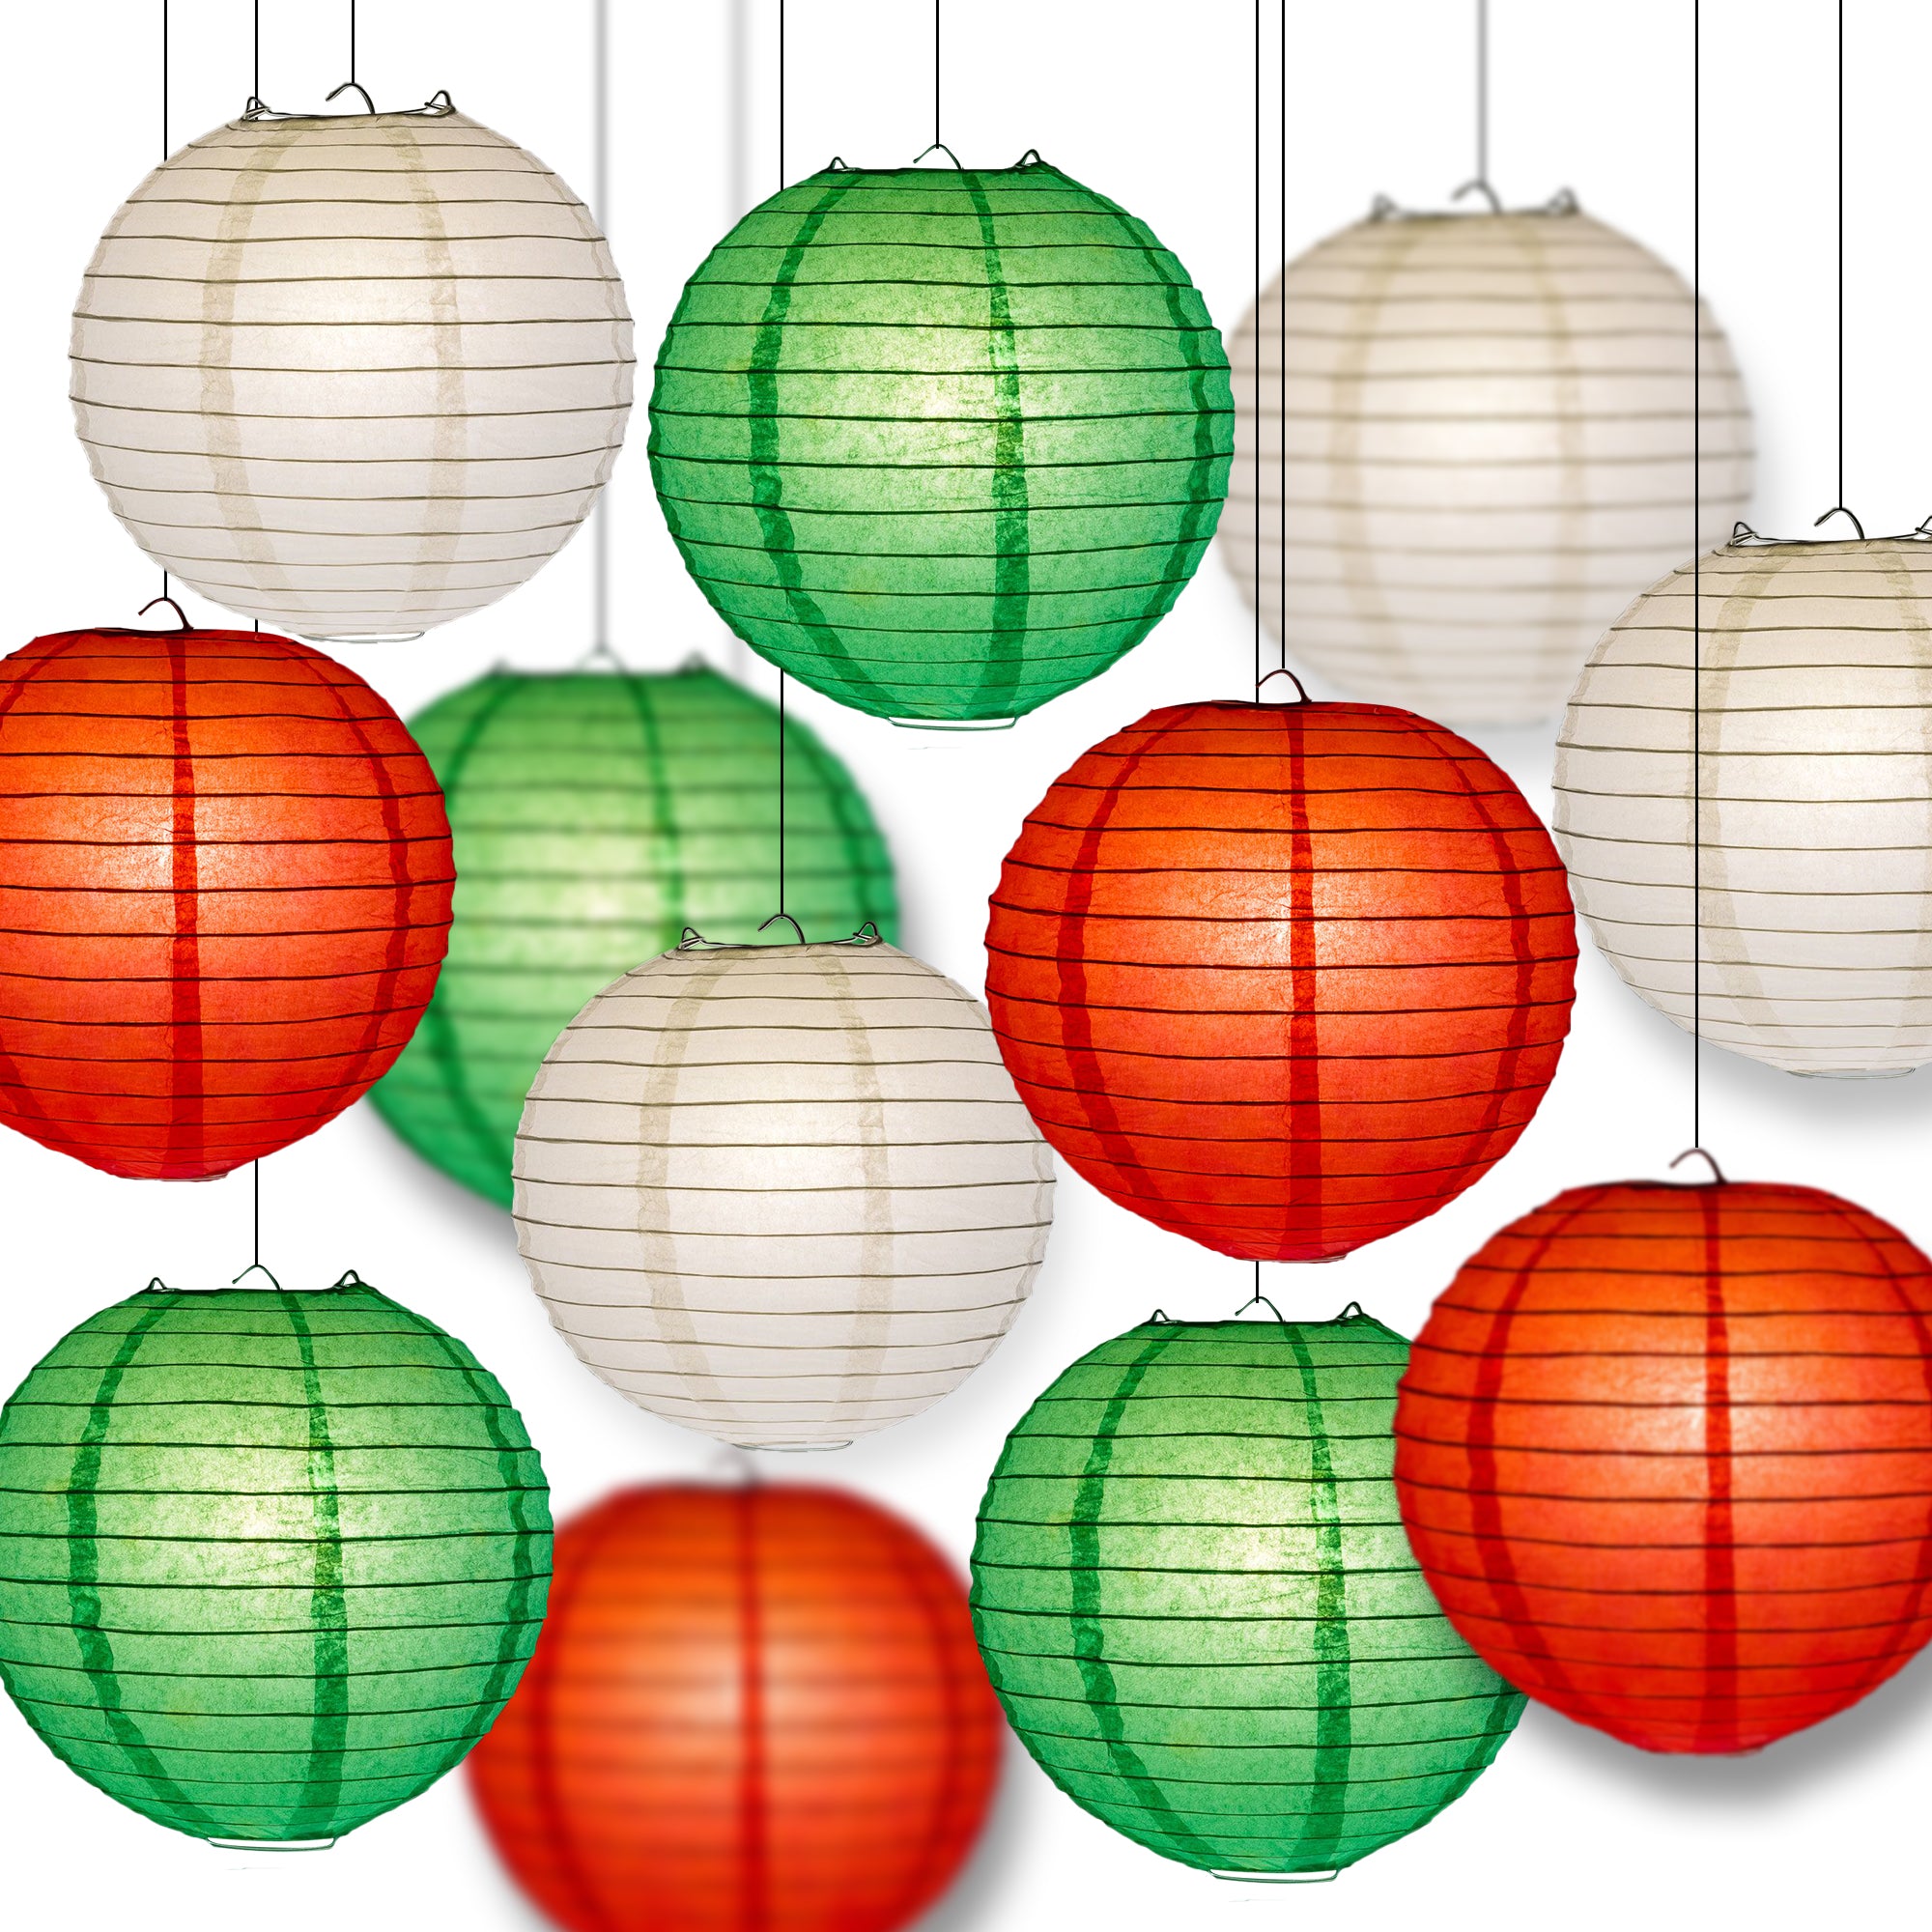


Paper lanterns are beautiful and perfect decorations. With different styles, sizes and colors, you can easily mix and match to create your own magical moment. Although it may look it's too complicated to assemble, it's actually very easy. In this article, we will be teaching you how to assemble your paper lanterns and even create your own paper lantern chandelier.
Remove Lantern from Packaging
Our paper lanterns come wrapped in a thin plastic bag to help protect them from moisture. The paper lantern and metal expander are inside. Remove carefully.
Opening the Lantern
Once removed from the packaging, hold a opening circle in each hand and expand and collapse the lantern a few times - like an accordion. This will help stretch the paper to help prevent rips once you insert the expander. The lantern has two openings, one with a small circle which is the bottom, and the other a slightly bigger circle that has two small metal loops on either side, which is the top of the lantern.

Inserting the expander
The metal expander has one end with two nubs and a C hook, while the other end has small depressions on each side. The C hook end is the top and will be placed in one hand while you gently insert the other end into the top circle of the lantern. The bottom of the expander (with those small depressions) should catch on the bottom circle of the paper lantern.

Clicking in the expander
Now that the expander is almost in, you'll feel some tension with the lantern as it pulls open. Don't push too hard! The paper is delicate and you don't want to tear anything. The metal expander's two top nubs are going to click into the two metal hoops on the top of the lantern, thereby securing the expander inside the paper lantern and creating its shape. The expander may bend a bit and this is perfectly normal. Some ribbing materials and papers are tight when first opened and will slowly give a little as they sit.

Tada! Now your paper lantern is ready to use!
Our YouTube Video Instructions

For those of you that are visual learners - here's a link to our YouTube video showing how to expand paper lanterns and create a paper lantern chandelier.
Happy Decorating
Don't forget to share this article. Someone needs to know about this!
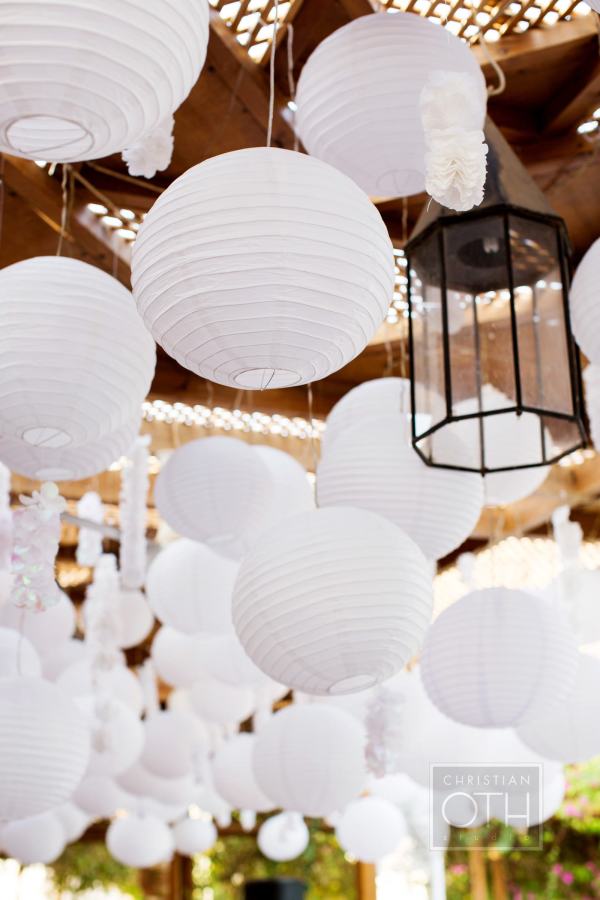
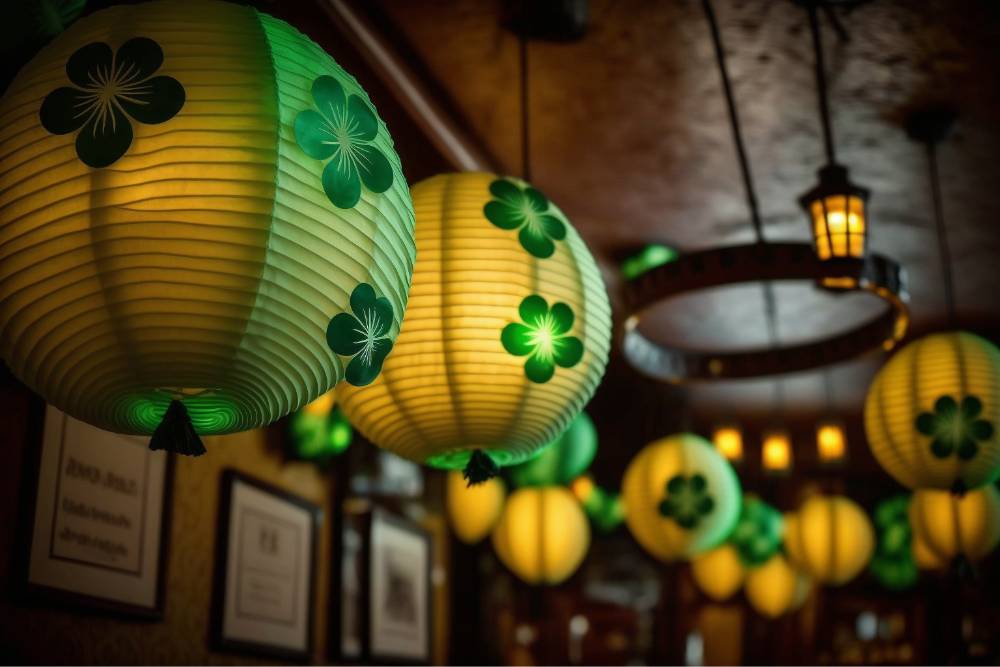
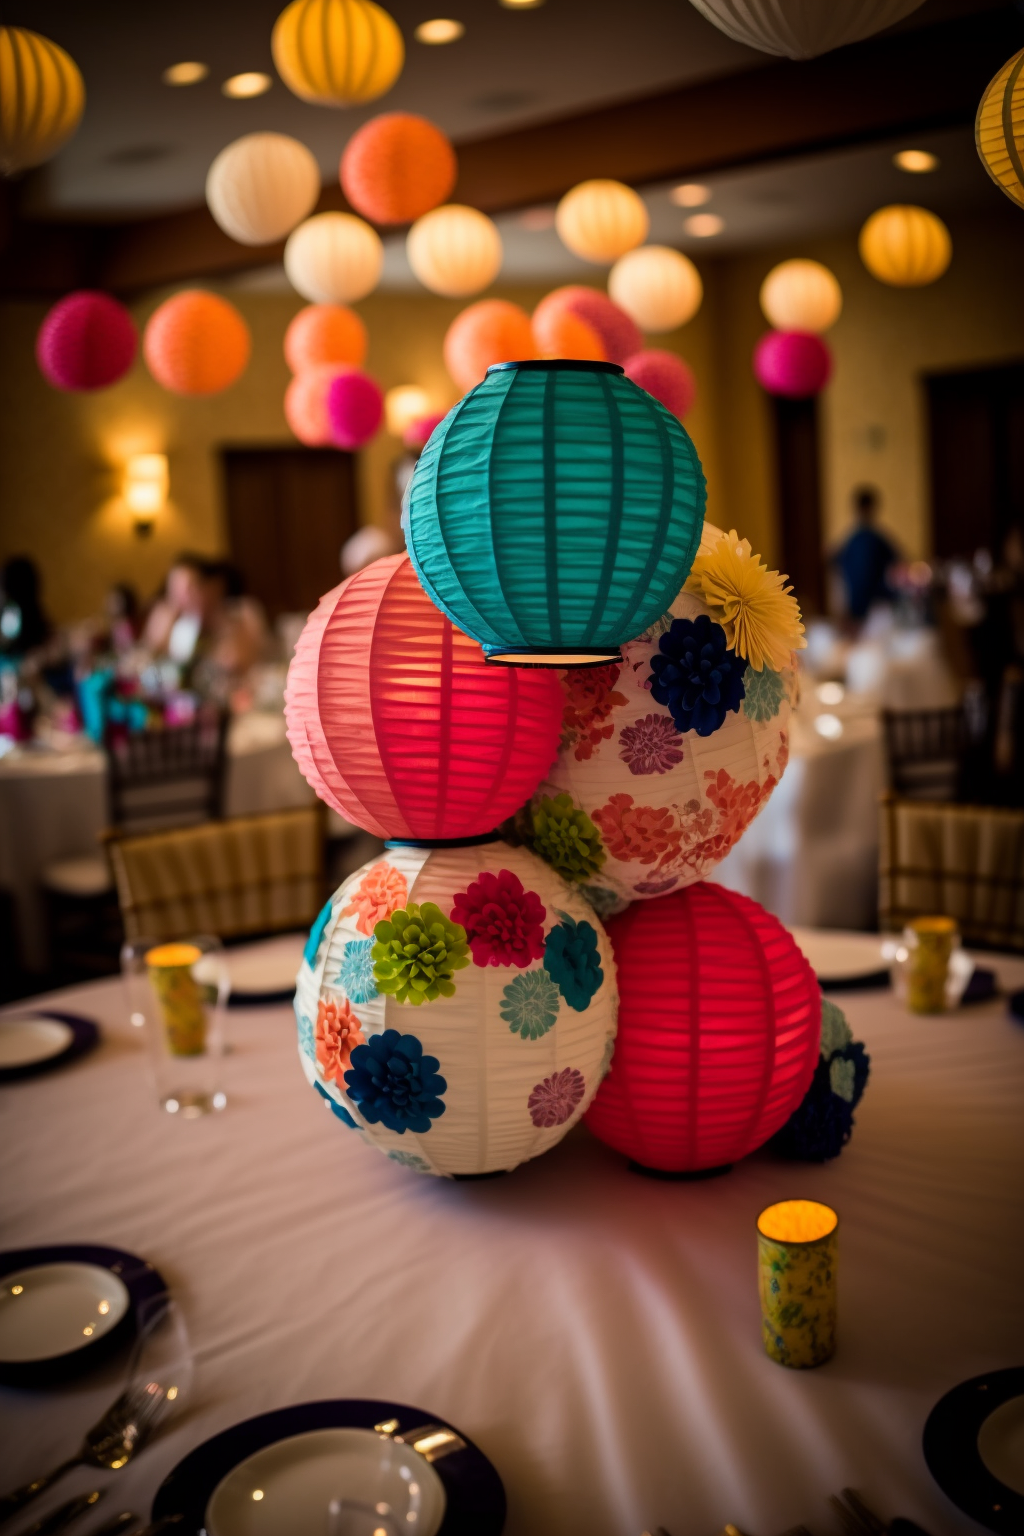
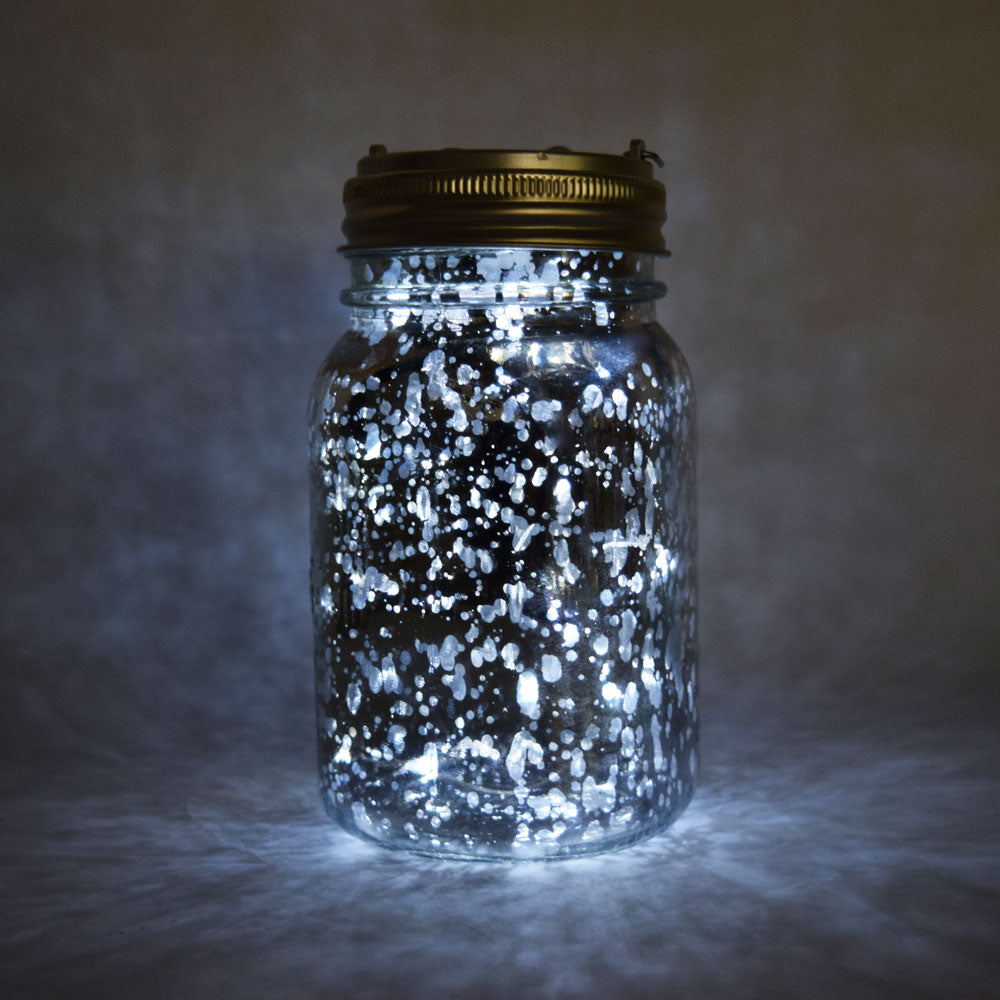
To give you more inspiring paper lantern decorations, see the images below!
Photo By: Greer G. Photography
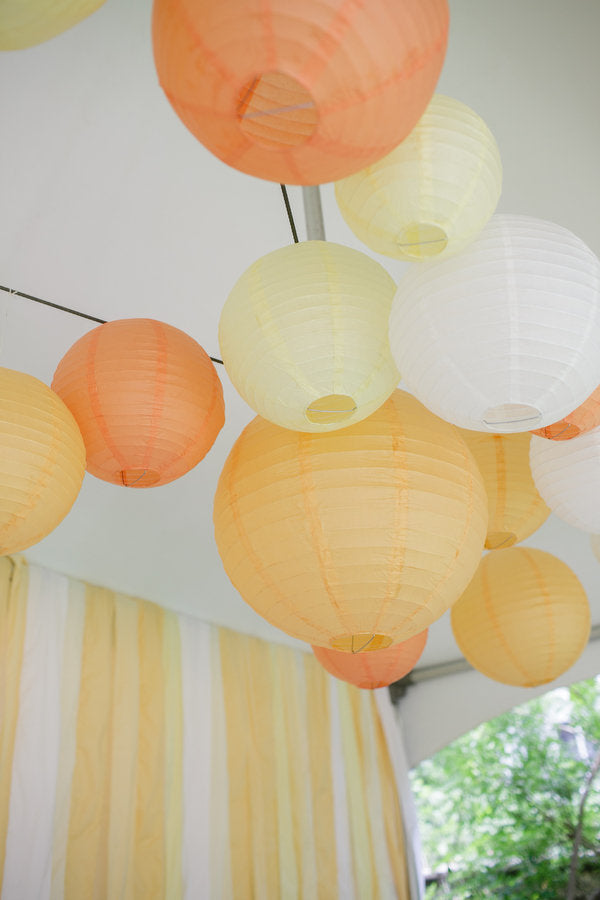
Photo By: Ann-Kathrin Koch
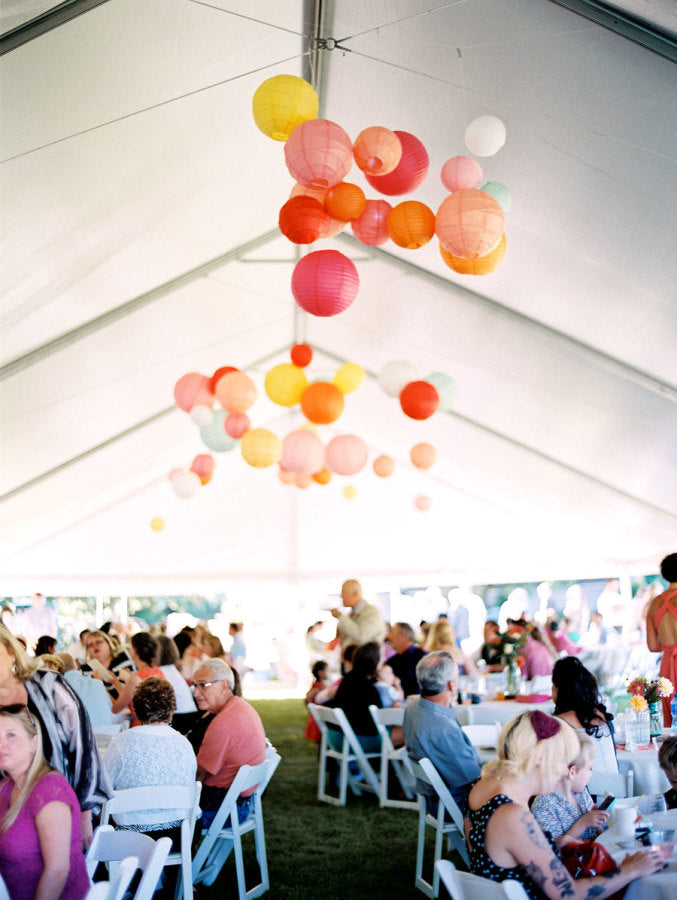
Photo By: Christian Oth Studio